How to install a python library?
Another nice and basic tutorial for this blog.
I imagine you're here because I linked you from another tutorial, so you could install things and get on with some analysis.
So let's get on with it.
What are you seeing?
You're probably seeing an error like this:
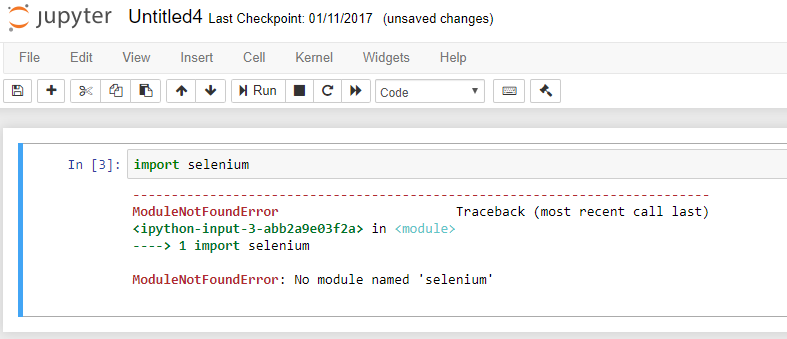
You've tried to load a module (code someone else has written that we can use), but we haven't installed it yet.
Let's install it.
1. Are you in a jupyter notebook or a command line?
If you're already in a command line, then skip step 2. If you're in a Jupyter notebook, continue.
2. How did you install python?
Did you install Anaconda, as I push people towards in this blog post?
I installed Anaconda
If it's a yes, then the next question is:
Did you put Anaconda on your PATH?
-
Yes.
- Then open any command line. (On Windows you can use
Command Prompton Mac you can useTerminal.)
- Then open any command line. (On Windows you can use
-
No.
- Then you're going to need to open
Anaconda Prompt.
- Then you're going to need to open
-
I don't remember
- Use
Anaconda Promptto be safe!
- Use
Leave your existing jupyter notebook command line open!
I did not install Anaconda
If you're on a Mac or Ubuntu then python comes with your computer and you might've installed Jupyter notebooks by other means.
In that case you'll need to use the default command line e.g. Terminal.
3. Download the library
In our command line (we'll be using anaconda prompt.)
- Type in
pip install {module_name} - Hit enter
In our example it's selenium. We'll see it install and we're good to go.

Hooray you're done!
That' s it. Hoorah!
That didn't work
Oop. No it didn't.
There are two common reasons this might not've worked. If you find others please post in the comments and I'll try and add them in here.
Permissions
The first is a permissions error. If you see permission denied in your command line you might need to run it with admin privileges.
In Windows you do that by right clicking on the console icon and clicking Run as Administrator.

In Mac you do it by adding in sudo before the command. e.g.
sudo pip install {module_name}
I've seen this happen relatively often in Windows. I've not actually had it happen to me on Mac.
The module is called something else
Sometimes you'll get an error that looks like this:
ERROR: Could not find a version that satisfies the requirement made-up-module (from versions: none)
ERROR: No matching distribution found for made-up-module
I'm not sure how this happens, but sometimes the import name is not the same as the install name. i.e.
You will import with: import my-made-up-module
You will need to install it as another name pip install made-up-doms-module.
In this case you can find the install name by googling the error and usually you will find a stack overflow post about this.
A good example of this is: google-api-python-client
You install it with google-api-python-client, but you import it with import apiclient.
Questions?
Post on below and I'll do my best to answer.
